
Understanding the Importance of Winterization
Impact of Cold Temperatures on Irrigation Systems
Winterizing your sprinkler system is crucial, especially in areas where temperatures drop below freezing.
Cold weather can cause water in the pipes to freeze and expand, leading to cracks in your irrigation system.
This damage not only disrupts your watering schedule but can also lead to expensive repairs.
By winterizing your system, you protect it from the harsh effects of winter, ensuring it remains functional for the next watering season.
Function of a Backflow Preventer
A backflow preventer is a key component of your sprinkler system.
It ensures water flows in one direction, preventing contaminated water from flowing back into your clean water supply.
During winter, the water trapped inside a backflow preventer can freeze, causing significant damage to the device and potentially compromising your water supply.
Winterizing the backflow preventer is essential to maintain its integrity.
Identifying the Optimal Time for Winterization
Timing is everything when it comes to winterizing your sprinkler system.
The ideal moment is just before the onset of consistent freezing temperatures but after you no longer need the system for watering.
This timing varies depending on the geographical location. Generally, late fall is the best time for most regions.
Step 1: Gathering the Necessary Tools
Air Compressor
An air compressor is the cornerstone of the winterization process.
It’s used to blow out any remaining water in your irrigation lines, preventing any freeze damage during the cold months.
The power of the air compressor is an important consideration.
You’ll need one that can deliver the right amount of air pressure to effectively clear the lines without causing damage.
A standard household air compressor usually suffices, but make sure it can deliver at least 50 cubic feet per minute (CFM) of air flow.
Flat Screwdriver
A flat screwdriver might seem simple, but it’s a must-have for winterizing your sprinkler system.
You’ll use it to open the test cocks on the backflow preventer.
It’s essential for precision work, ensuring you don’t damage these delicate components.
Step 2: Preparing the Irrigation System and Backflow Preventer
Shutting Off the Irrigation Water Supply
The first step in preparing your system for the winter is to shut off the water supply.
This action prevents any additional water from entering the system during the winterization process.
Locate the main shut-off valve for your irrigation system. It’s typically found in the basement.
Isolating the Backflow Preventer
After shutting off the main water supply, the next step is to close the valve located between the backflow preventer and the irrigation system.
This specific valve is vital as it isolates the backflow preventer from the rest of the system.
By closing it, you’re ensuring that no air can get back into the backflow preventer during the blowout process.
This step is a key safeguard to protect the backflow device from any potential damage.
Running the Zones of the Irrigation System
Before you begin the actual winterization, it’s essential to run your irrigation system one last time.
This process helps in clearing out any residual water in each zone and prepares the system for the air blowout.
Activate each zone sequentially, allowing water to flow through.
This step ensures that when you start using the air compressor, the system is primed for efficient water removal.
Step 3: Draining the Remaining Water from the Irrigation System
Connecting and Activating the Air Compressor
Once your system is primed, it’s time to connect the air compressor.
Attach the hose to the compressor and then to the system’s mainline, typically via a blowout port. Ensure a tight connection to prevent air leaks.
Set the compressor to the correct psi (pounds per square inch) – usually between 40-80 psi, depending on your system’s specifications.
Activate the compressor to start the blowout process, which will push out any lingering water in the pipes.
Ensuring All Water is Drained from the System
This step is crucial for thorough winterization.
Work through each zone individually, opening one zone at a time with the air compressor activated.
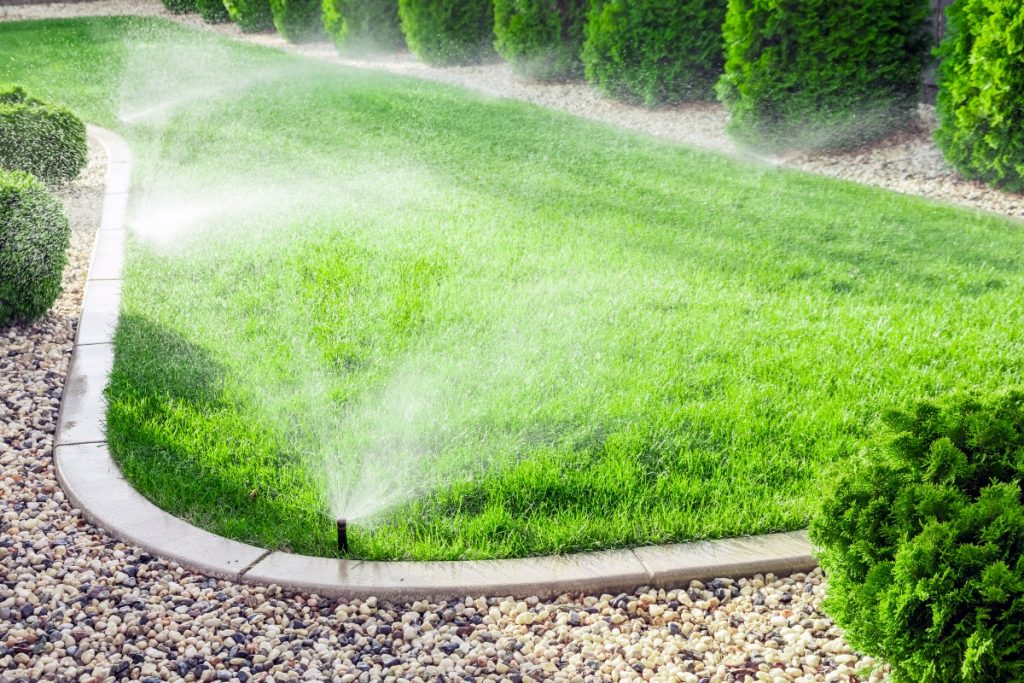
You’ll see water and mist exiting the sprinkler heads.
Once you notice only air is coming out, close the zone and move on to the next.
This methodical approach ensures each part of your system is free of water.
Turning Off and Disconnecting the Air Compressor
After you’ve completed all zones, it’s time to safely disconnect the air compressor.
First, turn off the compressor and release any built-up pressure.
Then, carefully disconnect the hose from the system.
Properly shutting down the compressor prevents any sudden releases of air pressure, which could harm the system.
Step 4: Draining the Water from the Backflow Preventer

Opening the Valves with a 45-degree Turn
After addressing the irrigation system, your next focus is the backflow preventer.
With a 45-degree turn, open the valves connected to both ends of the backflow device.
This step allows any trapped water to escape.
Opening the Test Cocks with a 45-degree Turn
Next, you’ll need to open the test cocks on the backflow preventer.
Use your flat screwdriver for this task. Turn each test cock to a 45-degree angle.
This action ensures that no water remains in the smaller chambers of the backflow preventer, which are particularly susceptible to freeze damage.
Keeping Valves and Test Cocks in the Correct Position
Once you’ve drained the water, it’s important to leave the valves and test cocks in the right position for the winter.
The valves and test cocks should be left partially open, typically at a 45-degree angle.
This position allows any residual moisture to escape.
Insulating the Backflow Preventer
Finally, protect your backflow preventer from the cold by insulating it.
Use foam insulation covers specifically designed for this purpose.
Covering the backflow preventer helps shield it from freezing temperatures, reducing the risk of damage.
It’s a simple yet effective way to provide an additional layer of protection, ensuring your system remains in top shape for the spring.
Activating the Sprinkler System After the Winter

Climate Impact on Irrigation Start-Up Times
As winter fades and temperatures begin to rise, it’s time to think about reactivating your sprinkler system.
The timing for this heavily depends on your local climate.
In regions with mild winters, you might start up your system earlier, sometimes as soon as late winter.
In areas with harsher winters, it’s safer to wait until all danger of frost has passed.
Best Time to Reactivate the Irrigation System
Choosing the right moment to restart your system involves more than just watching the calendar.
Pay attention to the soil condition. The ground should be thawed enough to absorb water efficiently.
Starting your system while the ground is still frozen can lead to potential damage.
A simple test is to dig a small hole, about a foot deep, to check if the soil is frost-free.
Using Weather Forecasts to Determine When
Weather forecasts are invaluable in deciding when to start up your sprinkler system.
Keep an eye on the local weather predictions for sudden temperature drops.
These forecasts can guide you in setting a safe date for reactivation, reducing the risk of damage from unexpected cold snaps.


