

Gathering the Necessary Materials
Embarking on the task of replacing a sprinkler valve? Great choice!
Before you dive in, let’s ensure you have all the tools and materials ready.
It’s crucial to gather everything beforehand to make the process hassle-free.
- Sprinkler Valve: This is the heart of your project. Select a valve that matches your system’s specifications.
- Piece of PVC Pipe: Essential for connecting your new valve. The diameter should align with your existing setup.
- PVC MIP Adapter: This little component plays a big role in ensuring a secure connection between your valve and the piping.
- PVC Coupling: It’s all about making strong, leak-proof connections, and the coupling ensures just that.
- PVC Cutter: Precision is key when working with PVC pipes. A good cutter will give you a clean, straight cut.
- PVC Cement: Think of this as the glue that holds your project together. It’s vital for sealing PVC joints.
- Teflon Tape: A must-have for preventing leaks at threaded joints.
- Utility Knife: A sharp utility knife is indispensable to strip back the wires of your new valve.
- Waterproof Wire Connectors: Safety first! These connectors keep your electrical connections dry.
Step 1: Turning Off the Irrigation Water Supply

Alright, let’s move to the next crucial step: turning off the water supply.
This is a critical action to prevent water from gushing out when you’re working on the valve.
It’s simpler than it sounds, but it’s vital to do it correctly to ensure a dry workspace.
Locate the Shutoff Valve
This is your starting point.
The shutoff valve is typically found in the basement, where the main line enters your property.
Sometimes, it’s hidden in plain sight, so take a good look around.
Turn Off the Shutoff Valve
Once you’ve located the valve, turning it off is usually straightforward.
If it’s a gate valve, turn the handle clockwise until it stops.
If it’s a ball valve, turn the lever 90 degrees.
This action will halt the water flow to your sprinkler system, creating a safe environment for you to work on the valve replacement.
Step 2: Locating the Valve Box

Next up, let’s focus on finding the valve box. This is where the sprinkler valves are housed.
It’s a crucial area, often overlooked, yet it plays a significant role in the maintenance of your sprinkler system.
Find the Valve Box and Open It
The valve box is usually a rectangular box buried slightly below the ground level. It’s often green, blending with the landscape.
You’ll typically find it in the yard, often near the main water line.
Once you spot it, gently open the lid. You might need a screwdriver if it’s tightly closed.
Clear the Area for Work If Needed
Nature has a way of reclaiming spaces, so don’t be surprised if you find dirt, leaves, or even small plants inside the box.
Clearing the area is crucial for two reasons.
First, it gives you unobstructed access to the valve.
Second, it prevents debris from falling into the open pipe once you start working.
A simple hand trowel can be very effective for this cleanup.
Step 3: Removing the Malfunctioning Sprinkler Valve
Now that we’ve set the stage, it’s time to tackle the core of the project: removing the malfunctioning valve.
This step is pivotal, as it paves the way for installing a new, efficient valve.
Cut One Side of the PVC Pipe
Start by identifying the PVC pipe connected to the faulty valve.
Using your PVC cutter, make a clean cut on one side of this pipe.
This action will free up the valve from its attachment, making removal easier.
Remove the Faulty Valve
With the pipe cut, gently unthread the faulty sprinkler valve.
It might take a bit of effort, depending on how long it’s been in place.
Be cautious not to apply excessive force, as this could damage the surrounding fittings.
Replace the Teflon Tape
Before proceeding to install the new valve, it’s a good idea to refresh the Teflon tape on the threads of the existing PVC MIP adapter.
Carefully wrap new Teflon tape around the threads, covering them completely.
This prevents potential leaks.
Step 4: Installing the New Sprinkler Valve
With the old valve out, it’s time for the most rewarding part of our project – installing the new sprinkler valve.
This step is where things start coming together, leading to a restored irrigation system.
Thread the New Irrigation Valve
Begin by attaching your new valve to the existing PVC MIP adapter. The key here is to ensure the threads align perfectly to avoid cross-threading.
Once aligned, twist the valve onto the adapter by hand until it’s snug. The goal is a tight, leak-free connection.
Glue Together the New PVC Pieces
Next, you’ll be working with PVC cement to join the new components.
Apply a generous amount of cement to the inside of the coupling and the new PVC MIP adapter.
Then, firmly press them together with the new piece of PVC pipe. Hold them in place for a few seconds to ensure a strong bond.
After that, apply glue to the other side of the coupling and attach the new piece of PVC pipe to the existing irrigation valve setup.
Add Teflon Tape to the New PVC MIP Adapter
Just like you did with the existing adapter, wrap Teflon tape around the threads of the new PVC MIP adapter.
This step is crucial for a leak-proof connection.
A few wraps should suffice.
Thread the New PVC Pipe to the Valve
Finally, connect the new piece of PVC pipe to the valve.
Carefully align and thread the pipe into the valve, making sure it’s tight.
This connection is the last piece, completing the physical installation of your new valve.
Step 5: Rewiring the New Sprinkler Valve

Now that your new valve is in place, it’s time to focus on the wiring.
Proper rewiring is crucial for the valve’s functionality.
This step connects your hard work to the sprinkler system’s control mechanism.
Strip Back the Existing System Wires
Using your utility knife, carefully stripping back the insulation from the ends of the existing system wires.
This exposes the conductive material needed for a solid electrical connection.
Ensure you remove just enough insulation to make the connection, typically about a half-inch.
Strip Back the Valve Solenoid Wires
Next, perform the same action on the wires coming from the valve’s solenoid.
The solenoid is the electronic component that controls the valve, so establishing a good connection here is key to functionality.
Connect Both Wires with Waterproof Connectors
Here comes the critical part. Twist the exposed ends of the system wires to the corresponding solenoid wires of the new valve.
Once twisted together, secure them with waterproof wire connectors.
These connectors are vital for maintaining the integrity of the electrical connection, especially in a moist environment like a yard.
Step 6: Testing the New Irrigation Valve
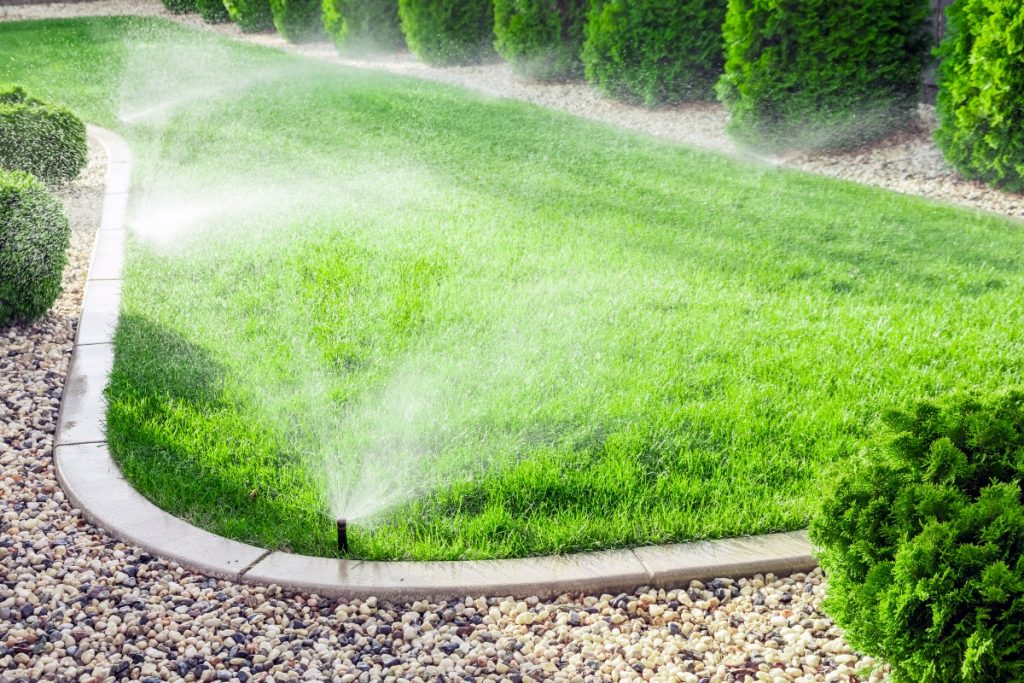
Congratulations! You’re almost at the finish line. Now it’s time to test the new irrigation valve.
This is the moment of truth, where you see the fruits of your labor in action.
Let’s make sure everything works as it should.
Turn on the Irrigation Water Supply
Head back to the main shutoff valve and turn it back on.
This will allow water to flow through your system again.
Do this slowly to avoid a sudden rush of water that could stress the irrigation pipes.
Activate the Zone with the New Valve
Go to your irrigation system controller and activate the zone corresponding to the new valve.
This is the initial test to see if the valve opens properly and water flows through the sprinkler heads.
Test All Other Irrigation Zones
Don’t stop at just the zone you worked on.
Check all zones to ensure the overall system is functioning correctly.
This is important because sometimes work performed on one part of the system can inadvertently affect other sections.
Clean the Work Area and Close the Valve Box
Once you’re satisfied with the performance of your new valve, it’s time to tidy up.
Clean the area around the valve box, removing any debris and your tools.
Then, gently place the lid back on the valve box, securing it in place.


