

Best Time to Start-Up a Sprinkler System
Springtime is synonymous with rejuvenation, and your lawn is no exception.
However, timing is crucial when it comes to reactivating your sprinkler system. The key factor? Ensuring the last frost has passed.
Restarting too early can risk damage from freezing temperatures, which can be costly.
Typically, the ideal time is when consistently warmer weather settles in, usually late April or early May, depending on your region.
The sprinkler system start-up should align with the time your grass begins to grow. This ensures your lawn receives the right amount of water at the right time.
Costs of Activating an Irrigation System
The cost for a sprinkler start-up isn’t just about flipping a switch. It encompasses checking and potentially repairing your system. Let’s break it down.
Firstly, the basic startup procedure. If you’re a DIY enthusiast, this could cost you virtually nothing.
It involves inspecting and activating the system, a process that requires your time but not necessarily your wallet.
However, if you’re not confident in doing it yourself, hiring a professional could set you back anywhere from $100 to $200.
Repairs are the next cost factor.
Winter can be harsh on sprinkler systems. Cracked pipes, broken heads, or malfunctioning valves are common issues.
These repairs vary widely in cost, depending on the extent of the damage. You could spend as little as $50 for a simple head replacement or hundreds for more extensive pipe repair work.
Step 1: Checking if the Ground has Thawed for Sprinkler Activation

When spring is in the air, it’s tempting to rush into starting your sprinkler system.
However, the first crucial step is to ensure the ground has completely thawed.
Why is this so important? Frozen soil puts your pipes at risk of bursting, a scenario you definitely want to avoid.
The process of checking the ground is simple. You don’t need fancy equipment; just a shovel will do.
Dig a small hole, about 12 inches deep, in a representative area of your yard. This depth typically covers the zone where most sprinkler lines are installed.
Feel the soil at the bottom of the hole. If it’s soft and unfrozen, you’re good to go.
If it’s still hard, patience is your friend. Wait a bit longer to avoid potential damage to your system.
Step 2: Closing the Test Cocks of the Backflow Preventer
Moving to the next step in awakening your sprinkler system from its winter slumber involves the backflow preventer.
This device is crucial as it keeps your household water supply safe from contamination.
The focus here? The test cocks, small valves on the backflow preventer.
The first thing to know is that these test cocks should have been left open during winterization to prevent trapped water from freezing. Now, as spring arrives, it’s time to close them.
To start, locate the backflow preventer. It’s usually found outside, close to where the water supply enters your home.
You’ll see two test cocks, small screw-like valves.
Using a flathead screwdriver, turn each test cock to the closed position, which is perpendicular to the pipe.
Step 3: Opening the Shutoff Valves of the Backflow Preventer
After ensuring the test cocks are securely closed, the next pivotal step in waking up your sprinkler system is to open the shutoff valves of the backflow preventer.
The backflow preventer typically has two shutoff valves, one on each side. They are there to control the flow of water in and out of the system.
During winter, these valves are shut to prevent water from entering and potentially freezing in the pipes. Now, it’s time to open them up for spring.
To do this, locate the shutoff valves. They usually have handles that look like levers.
Turn each valve counter-clockwise to open them.
Step 4: Turning On the Irrigation Water Supply
Once the backflow preventer is set, the next exciting step is turning on the irrigation water supply.
This moment marks the real start of bringing your sprinkler system back to life after its winter hiatus.
The main water supply for your sprinkler system is usually controlled by a valve, often located in your basement.
The key here is to open this valve slowly. A rapid opening can cause a surge called a water hammer, which can damage pipes.
As you gently turn the valve to the open position, listen for the sound of water flowing through the system. This is a good sign, indicating that water is filling the pipes.
Step 5: Running a Manual Test and Checking All Irrigation Zones
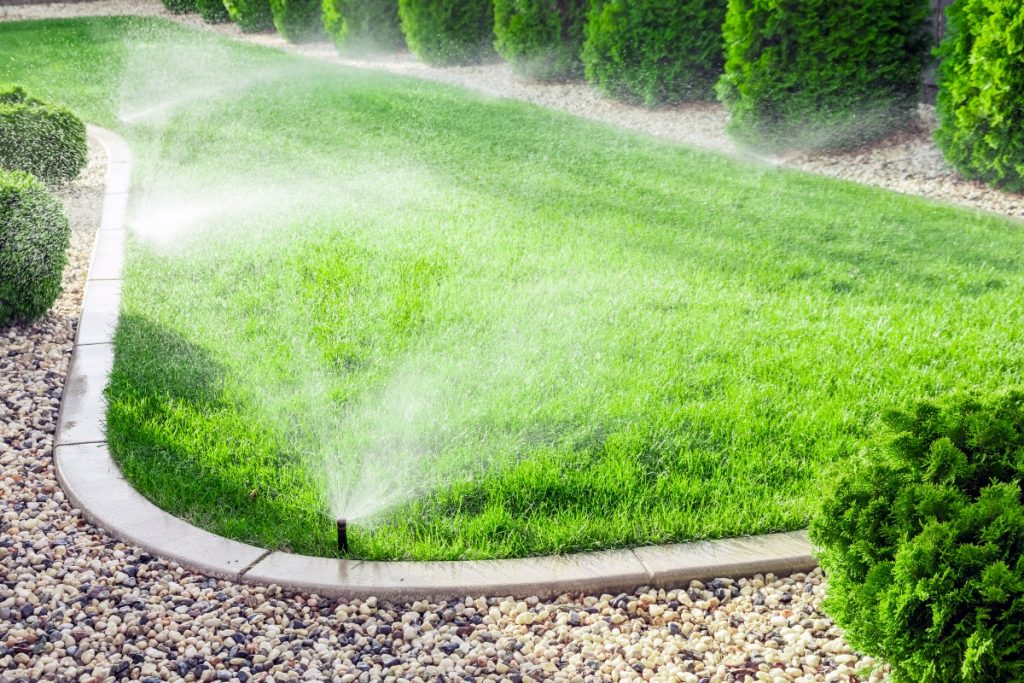
After the water supply is back in action, it’s time for a crucial checkpoint: running a manual test of all irrigation zones.
Begin by locating your irrigation controller. This is the brain of your sprinkler system, where you can manually start each zone.
Running each zone individually allows you to assess them one at a time. This focused approach helps in identifying any issues that might not be apparent.
As each zone activates, watch for a few key things. Check for proper water coverage and pressure.
Also, look out for any water bubbling up from the ground. This is a clear sign of a broken pipe.
Step 6: Inspecting and Adjusting All Sprinkler Heads
Now that you’ve run a manual test of each zone, it’s time to focus on the sprinkler heads.
Start by inspecting each sprinkler head in every zone. Look for any signs of damage like cracks.
Winter can be harsh, and even minor damage can affect the performance of the sprinkler head. If a head is damaged, replacing it is often a simple, cost-effective solution.
Next, check the alignment of each sprinkler head. They should be positioned upright, not tilted or buried under soil.
Adjust them as necessary to ensure they’re pointing in the right direction and covering the intended area.
Finally, consider the spray pattern. Each head should have a uniform spray, reaching the right areas without overspraying onto pavement.
Adjust the spray pattern to match the specific needs of each area of your lawn.
Step 7: Programming the Irrigation Controller for Spring
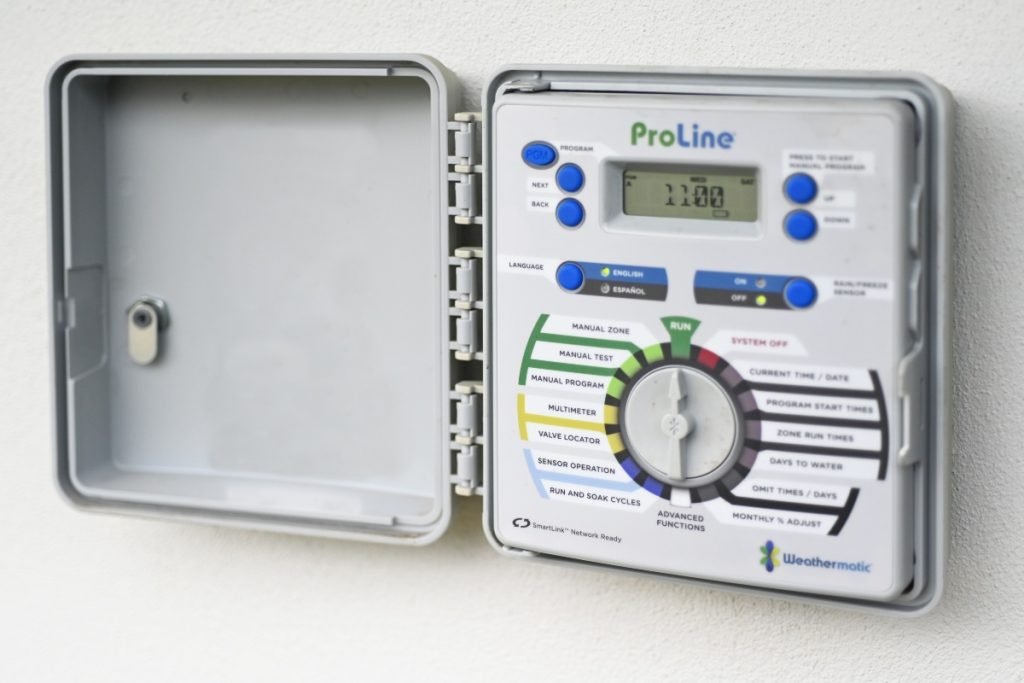
The final step in reawakening your sprinkler system is programming the irrigation controller for the spring season.
A well-programmed controller can be the difference between a thriving garden and one that just gets by.
Start by resetting the date and time on your controller. It sounds basic, but accurate timing is essential for precise watering schedules.
Then, consider the watering needs of your lawn in spring. These needs are different from the peak of summer. Typically, lawns require less water in the cooler, moist spring months.
Set your watering schedules to early morning hours. It’s the best time for watering, as it allows the water to soak in before the heat of the day and reduces evaporation.
Lastly, program the controller to water for shorter periods, but more frequently, to promote strong root growth.


