
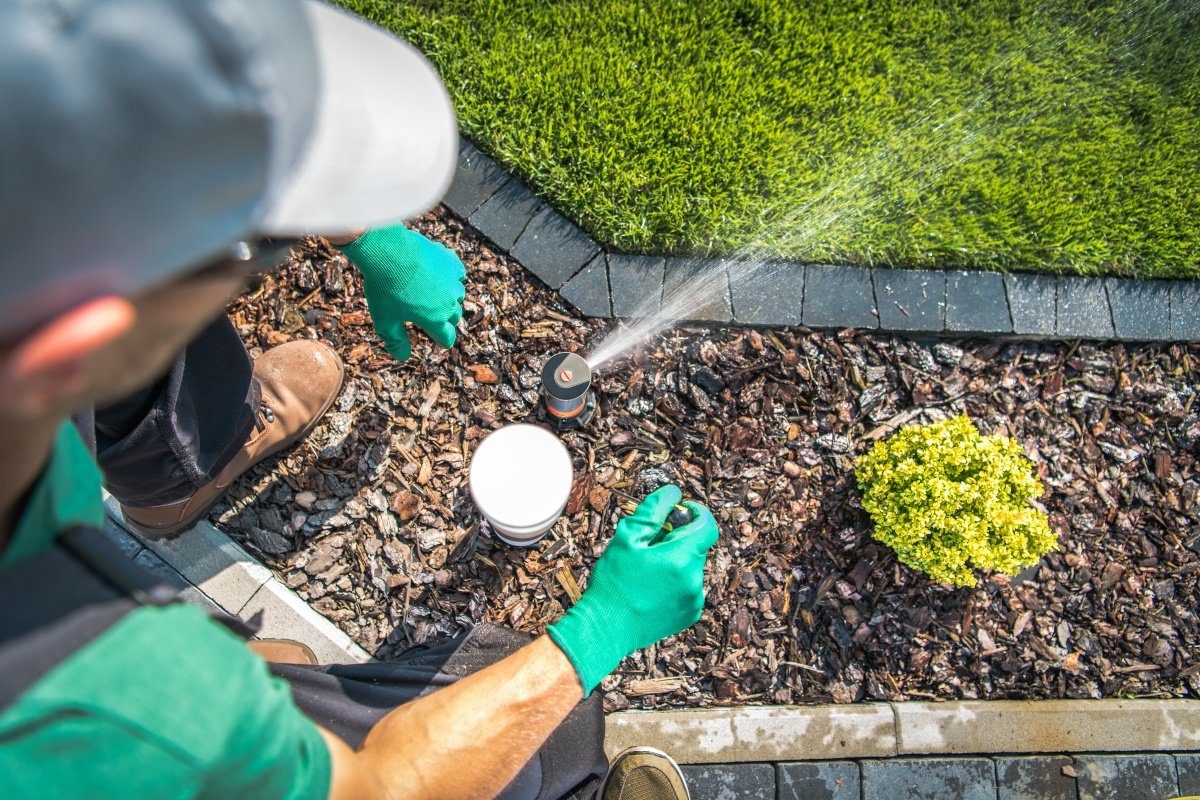
Identifying When a Sprinkler Head Needs Replacement
Uneven Watering
Have you noticed patches of grass on your lawn that look more like a desert rather than a lush garden?
This could be a telltale sign that your sprinkler head isn’t distributing water evenly.
Uneven watering often indicates a malfunctioning sprinkler head, a problem that, if left unaddressed, can lead to larger areas of your lawn suffering.
Leaking Nozzles
Water puddling around your sprinkler heads isn’t just a slip hazard; it’s a warning signal.
Leaking nozzles suggest that the internal seals in the sprinkler head may be worn out.
Ignoring this issue not only wastes water but also risks over-saturating parts of your lawn, which can harm plant roots.
Visible Damage
Take a walk around your garden. Do any sprinkler heads look like they’ve seen better days?
Visible damage, such as cracks, broken pieces, or heads that don’t pop up, is a clear indication that replacement is necessary.
These defects can drastically reduce the effectiveness of your watering system and, in the worst cases, completely halt its operation.
Tools You’ll Need for the Project
Handheld Shovel
First up, grab a handheld shovel. It’s your best friend for this task.
You’ll use it to carefully dig around the sprinkler head, ensuring minimal disturbance to your lawn.
A precise tool, the handheld shovel lets you create just enough space to work without turning your garden into a dig site.
Sprinkler Adjustment Tool
Next, the sprinkler adjustment tool.
This isn’t just any tool; it’s the key to effortlessly removing and adjusting sprinkler heads.
It grips, turns, and loosens heads with ease, making what could be a frustrating task more manageable.
Teflon Tape
Don’t overlook the Teflon tape.
This small but mighty tape plays a crucial role in preventing leaks at the connection points.
Wrapping it around the threads of your new sprinkler head ensures a watertight seal, safeguarding against future leakage.
Replacement Sprinkler Head
Finally, the star of the show: the replacement sprinkler head.
Choosing the right one is vital. It must match your system’s specifications to ensure a seamless fit with the existing setup.
The right sprinkler head will maintain the health of your garden.
Step 1: Exposing the Faulty Sprinkler Head

Locating the Damaged Sprinkler Head
Your first task is to find the culprit. It’s like a game of hide and seek, but with your sprinkler head.
Look for the signs we talked about earlier: uneven watering, leaks, or visible damage.
Once you spot the faulty head, mark its location. This simple step ensures you don’t lose sight of it once you start digging.
Safely Digging Around the Sprinkler Head
Now, it’s time to dig, but with a gentle touch. Your handheld shovel is perfect for this.
Begin by clearing the area around the sprinkler head, removing any soil carefully.
Aim to create enough space for easy access to the head without disrupting the surrounding area too much.
Think of it as a delicate surgery for your lawn, where precision is key to preventing unnecessary damage.
Step 2: Removing the Damaged Sprinkler Head
Loosening the Sprinkler Head
With your trusty sprinkler adjustment tool in hand, it’s time to loosen the damaged head.
This tool isn’t just a gadget; it’s your leverage. Gently fit it onto the head and twist.
The goal here is to loosen the head without forcing it. Remember, it’s about finesse, not muscle.
Unscrewing the Head Anti-clockwise
After loosening, unscrew the head by turning it anti-clockwise.
As you unscrew, keep a steady hand to avoid damaging the threads.
This step is crucial for ensuring the smooth installation of your new sprinkler head.
Flushing the Irrigation Line
Before you introduce the new head to its home, give the irrigation line a quick flush.
This removes any debris that might have sneaked in.
It’s like preparing a clean slate for your new sprinkler head, ensuring it operates at its best without any blockages from the get-go.
Step 3: Matching the Sprinkler Head Type

Now, it’s time to identify the type of sprinkler head you successfully removed.
This ensures that the new head will fit perfectly in your irrigation system.
A mismatched sprinkler head can lead to inefficient watering, something we definitely want to avoid.
Rotor Sprinkler Heads
Rotor sprinkler heads are known for their versatility and efficiency.
These heads operate by rotating a stream of water over a designated area, ensuring even coverage, making them ideal for larger lawns.
They’re particularly effective in areas that require steady, gentle watering over an extended period.
Spray Sprinkler Heads
Next, we have the spray sprinkler heads.
These are a common sight in residential lawns due to their straightforward design and short-range precision.
They emit a fixed spray pattern, delivering a uniform amount of water to a designated zone.
Rotary Sprinkler Heads
Rotary sprinkler heads are a blend of the efficiency of rotor heads and the precision of spray heads.
They are equipped with multiple arms, enabling them to cover medium to large areas with great uniformity.
These heads rotate in a circular motion, delivering water in a gentle, rain-like shower.
Impact Sprinkler Heads
Lastly, we have the impact sprinkler heads.
These are the traditional workhorses of the sprinkler world, known for their durability and long-range capabilities.
Impact heads work by striking a stream of water against a metal arm, creating a distinctive clicking sound as they rotate.
Step 4: Installing the New Sprinkler Head
Wrapping Teflon Tape Around the Riser
There’s another small but crucial step before installing the new head: wrapping Teflon tape around the riser’s threads.
Why Teflon tape? It’s the barrier that stands between a successful installation and a potential leak.
Wrap it clockwise, ensuring a snug fit.
This step secures a watertight seal, giving your sprinkler head a strong start.
Attaching the New Head
Now, for the main event: attaching the new sprinkler head.
Hold it gently and align it with the riser. Then, turn it clockwise, feeling for the threads catching correctly.
Tighten it by hand until it feels secure, but be cautious not to overdo it. Over-tightening can damage the threads, and we certainly don’t want that.
Step 5: Testing the New Sprinkler Head

Performing a Test Run
The moment of truth has arrived: it’s time to test your newly installed sprinkler head.
Turn on your irrigation system and watch. What you’re looking for is a uniform spray pattern and proper coverage.
If the water flows evenly and reaches all intended areas, you’ve nailed it. If not, don’t worry; minor adjustments are part of the process.
Adjusting the Spray Nozzle
Notice anything off with the spray? It’s time to fine-tune.
With your sprinkler adjustment tool, gently tweak the nozzle. Adjust the angle and direction until you achieve the desired coverage.
This step ensures every water droplet falls right where it should.
Step 6: Covering the Hole
Refilling the Excavated Area Properly
Now that your sprinkler head is happily installed and fine-tuned, it’s time to wrap things up.
Begin by refilling the hole. Carefully shovel the soil back in, taking care not to just dump it all at once.
Pat down the soil gently but firmly, ensuring it’s secure but not overly compacted.
The goal is to leave no trace of the operation you just completed, only a seamlessly functioning sprinkler head.
Disposing of the Old Sprinkler Head
Last but not least, don’t forget about the old sprinkler head. It served your garden well, and now it’s time to bid it farewell.
Dispose of it responsibly. Some parts may be recyclable, so consider this option as a way to be kind to the environment.
With this final act, you close the chapter on your sprinkler replacement project, leaving behind a well-watered garden and the satisfaction of a job well done.


